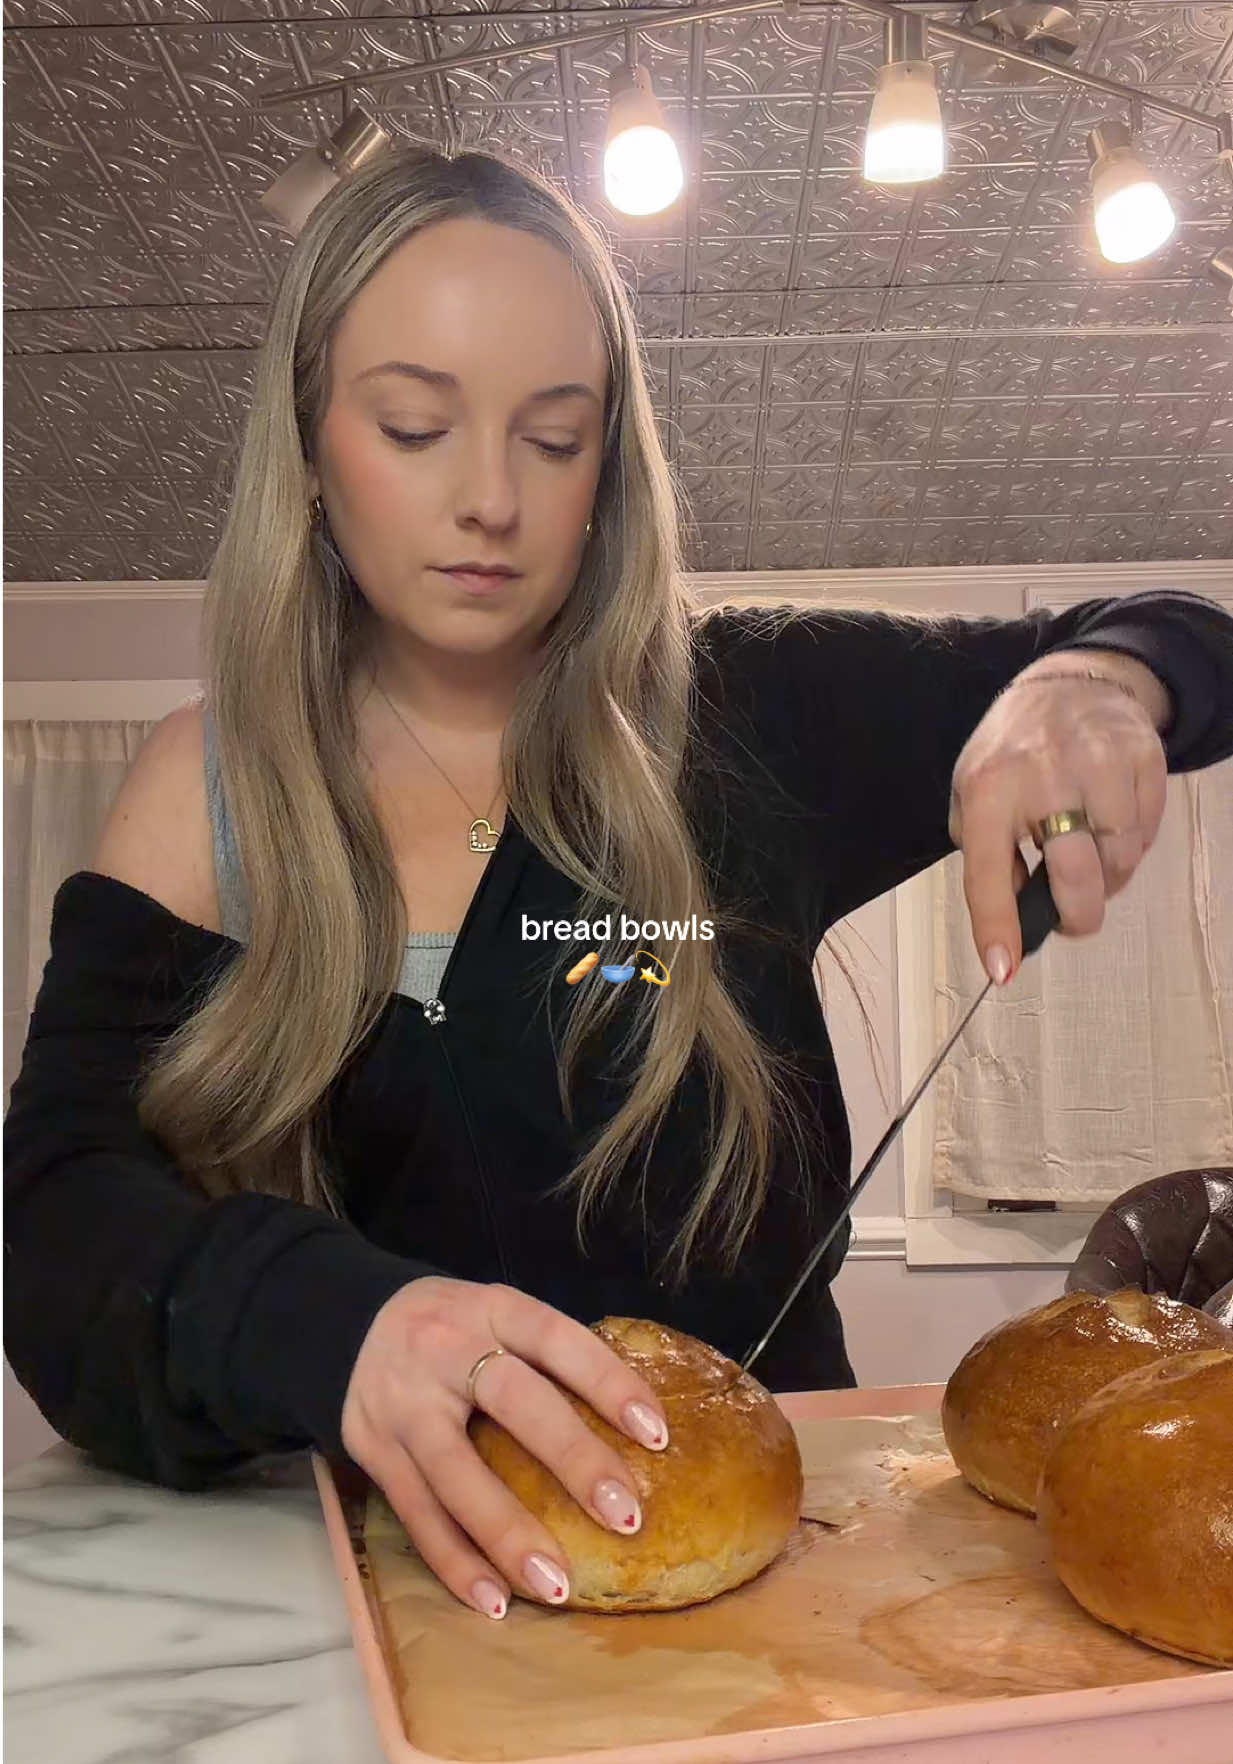
San Francisco bakers hollowed sourdough loaves in the 1980s to serve clam chowder, turning the edible bowl into a tourist icon.
Bread Bowls
Indulge in the ultimate comfort food with these irresistible homemade bread bowls! Crafted with a perfect blend of flour, yeast, and a touch of love, these warm, crusty bowls provide the ideal vessel for your favorite soups or crisp salads. Get ready to impress your guests and elevate your dining experience with this delightful twist on traditional serving!
Prep
15
min
Cook
25
min
Serves
4
people
Level
intermediate
The Story
San Francisco's gold rush miners in the 1850s needed portable, edible dishware, so bakers took European peasant bread traditions—French boules and Italian pane—and created a distinctly American vessel-food hybrid, proving that necessity, laziness, and stale sourdough are the true parents of invention when you don't fancy washing up after your clam chowder.
Regional Twist
In San Francisco's Mission District, bakers swap standard all-purpose flour for a sourdough starter using wild Bay Area yeast strains, adding tang that standard active dry yeast simply cannot replicate, giving the bowl proper acidity to stand up against creamy clam chowder.
📝 Ingredients
Serves 4🥬Fresh Produce(2)
- 1 1/3 cup warm water (between 105-110 degrees F) (319 ml)
- 1 tsp water for egg wash (5 ml)
🥛Dairy & Eggs(1)
- 1 egg and 1 tsp water for egg wash
🫙Pantry Staples(4)
- 3 1/2 - 4 cups all purpose flour (start with 3 1/2, add 1/2 more if needed) (438 g)
- 2 tbsp olive oil (30 ml)
- 1 tbsp sugar (15 ml)
- 2 tsp active dry yeast (10 ml)
🧂Spices & Seasonings(1)
- 2 tsp salt (10 ml)
Nutrition (per serving)
Calories
549
Protein
15g
Carbs
99g
Fat
10g
👨🍳 Instructions
- 1
Mix warm water, sugar, and yeast in a bowl and let it sit for 10 minutes.
- 2
In a mixing bowl, add olive oil, flour, salt, and the yeast mixture. Knead for about five minutes.
- 3
Add olive oil to a bowl and let the dough rest covered for one hour.
- 4
After it has doubled in size, punch the air out and dump it onto a clean surface.
- 5
Cut the dough into four equal pieces, fold the ends in, pinch the bottom, and roll into smooth balls.
- 6
Place the dough balls onto a baking sheet lined with parchment paper, cover, and let rest for 30 more minutes.
- 7
Score a little X on top of each ball and brush with egg wash.
- 8
Bake at 425°F for about 20 to 25 minutes.
- 9
Let them cool for a couple of hours, then cut a circle along the top and hollow out the inside.
💡 Pro Tips
- ✓Proof your yeast at exactly 105-110°F because temperatures below 100°F activate yeast too slowly (delaying fermentation by 20-30%) and above 120°F kills 90% of yeast cells, resulting in dense bowls with minimal rise.timing105-110°F optimal; below 100°F delays fermentation 20-30%; above 120°F kills 90% of yeast
- ✓Use the windowpane test after 5 minutes of kneading: stretch a small dough piece until translucent without tearing, which indicates gluten development at 70-80% completion; underdeveloped gluten causes bowls to tear when hollowed out.technique70-80% gluten development threshold
- ✓Let dough bulk ferment for 60 minutes at 72-75°F room temperature—this creates optimal gas distribution (CO₂ and ethanol) for even oven spring; fermentation below 70°F extends to 90+ minutes with less flavor development from yeast byproducts.timing60 minutes at 72-75°F; extends to 90+ minutes below 70°F
- ✓Apply egg wash only after the final 30-minute proof and scoring because the moisture reactivates surface yeast, creating an additional 1-2mm rise that prevents flat, dense-topped bowls.technique1-2mm additional rise from egg wash reactivation
- ✓Bake at 425°F for exactly 20-25 minutes with steam in the first 10 minutes (place a pan of boiling water below the racks) because steam delays crust setting, allowing the dough to expand 15-20% more before setting, creating thinner, crispier bowl walls.equipment425°F; steam for first 10 minutes; 15-20% additional expansion with steam
Share this recipe
Prep
15
min
Cook
25
min
Serves
4
people
Level
intermediate
Share this recipe
San Francisco bakers hollowed sourdough loaves in the 1980s to serve clam chowder, turning the edible bowl into a tourist icon.
Bread Bowls
Indulge in the ultimate comfort food with these irresistible homemade bread bowls! Crafted with a perfect blend of flour, yeast, and a touch of love, these warm, crusty bowls provide the ideal vessel for your favorite soups or crisp salads. Get ready to impress your guests and elevate your dining experience with this delightful twist on traditional serving!
The Story
San Francisco's gold rush miners in the 1850s needed portable, edible dishware, so bakers took European peasant bread traditions—French boules and Italian pane—and created a distinctly American vessel-food hybrid, proving that necessity, laziness, and stale sourdough are the true parents of invention when you don't fancy washing up after your clam chowder.
Regional Twist
In San Francisco's Mission District, bakers swap standard all-purpose flour for a sourdough starter using wild Bay Area yeast strains, adding tang that standard active dry yeast simply cannot replicate, giving the bowl proper acidity to stand up against creamy clam chowder.
📝 Ingredients
Serves 4🥬Fresh Produce(2)
- 1 1/3 cup warm water (between 105-110 degrees F) (319 ml)
- 1 tsp water for egg wash (5 ml)
🥛Dairy & Eggs(1)
- 1 egg and 1 tsp water for egg wash
🫙Pantry Staples(4)
- 3 1/2 - 4 cups all purpose flour (start with 3 1/2, add 1/2 more if needed) (438 g)
- 2 tbsp olive oil (30 ml)
- 1 tbsp sugar (15 ml)
- 2 tsp active dry yeast (10 ml)
🧂Spices & Seasonings(1)
- 2 tsp salt (10 ml)
Nutrition (per serving)
Calories
549
Protein
15g
Carbs
99g
Fat
10g
👨🍳 Instructions
- 1
Mix warm water, sugar, and yeast in a bowl and let it sit for 10 minutes.
- 2
In a mixing bowl, add olive oil, flour, salt, and the yeast mixture. Knead for about five minutes.
- 3
Add olive oil to a bowl and let the dough rest covered for one hour.
- 4
After it has doubled in size, punch the air out and dump it onto a clean surface.
- 5
Cut the dough into four equal pieces, fold the ends in, pinch the bottom, and roll into smooth balls.
- 6
Place the dough balls onto a baking sheet lined with parchment paper, cover, and let rest for 30 more minutes.
- 7
Score a little X on top of each ball and brush with egg wash.
- 8
Bake at 425°F for about 20 to 25 minutes.
- 9
Let them cool for a couple of hours, then cut a circle along the top and hollow out the inside.
💡 Pro Tips
- ✓Proof your yeast at exactly 105-110°F because temperatures below 100°F activate yeast too slowly (delaying fermentation by 20-30%) and above 120°F kills 90% of yeast cells, resulting in dense bowls with minimal rise.timing105-110°F optimal; below 100°F delays fermentation 20-30%; above 120°F kills 90% of yeast
- ✓Use the windowpane test after 5 minutes of kneading: stretch a small dough piece until translucent without tearing, which indicates gluten development at 70-80% completion; underdeveloped gluten causes bowls to tear when hollowed out.technique70-80% gluten development threshold
- ✓Let dough bulk ferment for 60 minutes at 72-75°F room temperature—this creates optimal gas distribution (CO₂ and ethanol) for even oven spring; fermentation below 70°F extends to 90+ minutes with less flavor development from yeast byproducts.timing60 minutes at 72-75°F; extends to 90+ minutes below 70°F
- ✓Apply egg wash only after the final 30-minute proof and scoring because the moisture reactivates surface yeast, creating an additional 1-2mm rise that prevents flat, dense-topped bowls.technique1-2mm additional rise from egg wash reactivation
- ✓Bake at 425°F for exactly 20-25 minutes with steam in the first 10 minutes (place a pan of boiling water below the racks) because steam delays crust setting, allowing the dough to expand 15-20% more before setting, creating thinner, crispier bowl walls.equipment425°F; steam for first 10 minutes; 15-20% additional expansion with steam